A Homeowner's Guide to Pool Resurfacing
Does your backyard pool feel more dated than dazzling? Time, sun, and countless swim sessions can leave a pool’s interior looking faded, stained, and uninviting. If you’re dreaming of that brand-new sparkle, pool resurfacing offers a complete transformation. This process replaces the old, worn-out finish with a fresh, beautiful new one, instantly revitalizing your entire outdoor space. With modern materials like durable aggregates and elegant tiles, you can completely change your pool's color and texture. This guide will explore the exciting options available and detail the step-by-step process, helping you understand how to turn your tired pool back into a backyard oasis you’ll love.
Ready for a cleaner pool?
Denver's trusted pool care professionals since 1982. Get started today.
Schedule ServiceKey Takeaways
- Know the signs it's time for an update: Resurfacing is more than a cosmetic choice; it's essential for protecting your pool's structure from leaks. If you notice stubborn stains, a surface that feels like sandpaper, or visible cracks, it's time to consider a refresh, which is typically needed every 10 to 15 years.
- Hiring a pro is a non-negotiable: Pool resurfacing is a complex job where mistakes are costly. A qualified professional handles the crucial prep work, identifies underlying structural issues, and applies the new finish correctly, ensuring a durable result and protecting your investment.
- Your choices and aftercare determine longevity: The material you select, from classic plaster to durable tile, sets the stage for your pool's future. Once the work is done, consistent brushing and precise water balancing during the curing phase are essential to protect your new surface and make sure it lasts.
What Is Pool Resurfacing?
Think of pool resurfacing as giving your pool’s interior a brand-new skin. Over time, the surface of your pool (whether it's plaster, aggregate, or another material) wears down from constant exposure to water, chemicals, and the elements. The resurfacing process involves carefully draining the pool, stripping away the old, worn-out layer, and applying a fresh, durable new finish. This not only makes your pool look stunningly new but is also a critical part of its long-term health.
A fresh surface restores the waterproof barrier that protects the pool's structural shell from water damage and leaks. It’s one of the most effective ways to extend the life of your investment and is often a key part of larger pool remodels and rehabs. By replacing a deteriorating finish, you’re not just getting a cosmetic upgrade; you’re preventing more serious and costly structural problems from developing down the road. It’s a proactive step that ensures your pool remains a safe, beautiful, and functional centerpiece of your backyard for years to come.
Why It's More Than Just a Makeover
While a freshly resurfaced pool is undeniably beautiful, the benefits go much deeper than appearances. First and foremost, resurfacing is a matter of structural integrity. Small cracks or worn spots in your pool’s finish can allow water to seep through and damage the concrete shell underneath, leading to leaks and instability. A new surface seals these vulnerabilities, protecting your pool from the inside out.
It’s also a huge improvement for safety and comfort. An old, rough surface can be abrasive on your feet and swimsuits, and it creates tiny crevices where algae and bacteria can hide. This makes effective cleaning and maintenance much more difficult. A smooth, new finish is gentler on swimmers and makes it far easier to keep your water clean and balanced, creating a healthier swimming environment for your family and friends.
How Often Should You Resurface Your Pool?
As a general rule, most concrete pools need to be resurfaced every 10 to 15 years. However, this is just a guideline, not a strict deadline. The actual lifespan of your pool’s surface depends on several factors. The type of material used plays a big role; traditional plaster may last around 10 years, while more durable aggregate and tile finishes can last much longer.
Your maintenance routine is also key. A pool with consistently balanced water chemistry will have a much longer-lasting surface than one with frequent chemical fluctuations. Here in Colorado, our unique climate can also play a part. The best way to know when it’s time is to watch for the telltale signs of wear, which we’ll cover next. A professional inspection during routine equipment repairs or servicing can also help you decide if the time is right.
Signs Your Pool Needs Resurfacing
Your pool’s surface is constantly working against chemicals, sunlight, and frequent use. Over time, it will naturally show signs of wear. Knowing what to look for helps you catch issues early before they turn into bigger, more expensive problems. Think of it as a regular check-up. A quick visual scan and even paying attention to how the surface feels on your feet can tell you a lot about its health.
Most pool surfaces are designed to last for years, but they are not meant to be permanent. When you start noticing that your pool just does not look or feel as good as it used to, it might be sending you signals that it’s time for a refresh. Addressing these signs with a resurfacing project not only restores your pool's beauty but also protects its underlying structure, ensuring you can enjoy it for many more seasons. If you see several of these signs, it might be time to consider a full pool remodel.
Pesky Stains and Discoloration
We all know the frustration of a stain that just will not lift. While routine cleaning and maintenance can handle surface-level blemishes, some stains are a sign of a deeper issue. If you are seeing widespread discoloration or stubborn spots from rust, algae, or minerals that have seeped into the plaster, it is a clear indicator that your pool’s surface has become porous and is breaking down. These stains are not just an eyesore; they show that the protective top layer of your pool finish has worn away, leaving the structure vulnerable. No amount of scrubbing will fix it at this point, and resurfacing is the only way to get that clean, uniform look back.
Rough, Peeling, or Flaking Surfaces
Your pool’s surface should feel smooth under your hands and feet. If you start to notice rough patches that feel like sandpaper, or if you can see visible peeling or flaking (a condition sometimes called "spalling"), the surface is failing. These rough areas are not only uncomfortable and can cause scrapes, but they also create the perfect environment for algae to grow, making your pool harder to keep clean. Peeling and flaking happen as water gets behind the finish, causing it to separate from the concrete shell. It is a definite sign that the surface has reached the end of its life and needs to be replaced.
Cracks and Structural Damage
Of all the signs, cracks are the one you should take most seriously. While tiny hairline cracks (known as crazing) can be a normal part of a plaster finish aging, larger cracks that you can feel or see widening are a major red flag. These structural cracks can allow water to leak out of the pool shell, which can lead to soil erosion, damage to your pool deck, and harm to the pool’s plumbing and equipment. Do not ignore them. A growing crack is a sign of a significant problem that requires a professional inspection and repair to prevent more extensive and costly damage down the road.
Loose or Missing Aggregate
If you have an aggregate finish like pebble or quartz, you might start to notice little stones or flecks at the bottom of your pool. This is a sign that the plaster holding the aggregate in place is eroding. As the aggregate comes loose, it leaves behind a rougher, less attractive surface and can make the pool floor uncomfortable to walk on. You might also see "pop-offs," which are small chips or divots where a piece of the finish has completely broken away. This not only compromises the look of your pool but also indicates that the overall finish is weakening and will continue to degrade.
Choose Your Pool Resurfacing Material
Once you've decided to resurface, the next big step is picking the right material. This choice impacts everything from your pool's appearance and feel to your budget and long-term maintenance schedule. Each option has its own unique benefits and considerations, especially with Colorado's climate in mind. Let's walk through the most popular choices so you can find the perfect fit for your backyard oasis.
Pool Paint
Think of pool paint as a fresh coat for your pool's interior. It's a cost-effective option if your pool's surface is still in decent shape. You can choose from epoxy, rubber, or acrylic paints, giving you a wide range of colors for a smooth, clean finish. Epoxy is the most durable of the bunch and can last up to ten years with proper application. The key here is "proper application." The surface preparation has to be meticulous, or the paint can fail quickly. While it’s a budget-friendly fix, it’s not the longest-lasting solution, so it’s best for a quick refresh rather than a complete overhaul.
Plaster
Plaster is the classic, tried-and-true finish you see in many pools. It’s a simple mixture of white cement and marble dust that creates a smooth, timeless look. With proper care, a plaster surface can last up to 15 years. You can even customize it with colored pigments or polished finishes for a more unique style. However, plaster is porous and can be susceptible to staining and degradation if your water chemistry isn't consistently balanced. It requires skilled application and a commitment to regular cleaning and maintenance to keep it looking its best, but its traditional appeal is hard to beat.
Aggregate Finishes (Quartz and Pebble)
Aggregate finishes are a fantastic step up from standard plaster. They mix plaster with materials like quartz, pebbles, or glass beads to create a more durable and visually interesting surface. Quartz finishes are smoother than plaster and offer better resistance to stains and chemicals. Pebble finishes provide a more natural, textured look that is incredibly durable and slip-resistant. Both options typically last between 15 and 20 years, making them a great long-term investment. These finishes are a key part of our remodels and rehabs because they offer a perfect blend of beauty and strength.
Tile
For the ultimate in durability and elegance, nothing beats tile. Available in ceramic, porcelain, or glass, tile offers endless design possibilities and a luxurious, high-end finish. While it is the most expensive option upfront, a tile surface can last for more than 25 years with minimal upkeep, often outliving other pool components. The installation process is labor-intensive and requires expert craftsmanship to ensure every piece is perfectly set and grouted. Because of its longevity and premium look, tile is an excellent choice for a full-scale pool transformation that you want to last for decades.
How Much Does Pool Resurfacing Cost?
Let’s talk about the big question: what’s the budget for a project like this? Resurfacing your pool is a significant investment, but it’s one that protects your property value and extends the life of your backyard oasis. The final price tag can vary quite a bit, but to give you a ballpark figure, most homeowners spend around $6,500 to resurface a standard 1,000-square-foot pool.
Of course, that number can shift based on several key factors. The material you choose, the size and condition of your pool, and the complexity of the job all play a role in the final quote. Think of it less as a fixed price and more as a custom project tailored to your pool’s specific needs. Understanding these variables will help you set a realistic budget and make an informed decision. Our team specializes in full-scale remodels and rehabs, so we can walk you through every option to find a solution that fits your vision and your wallet.
Breaking Down Costs by Material
The finish you select for your pool is one of the biggest drivers of the overall cost. Each material comes with a different price point and lifespan, so it’s a balance between your upfront budget and long-term value.
- Pool Paint: This is the most budget-friendly choice at about $1 to $2 per square foot, but it has the shortest lifespan, typically lasting only 2 to 5 years.
- Plaster: A classic for a reason, plaster is durable and costs around $5 per square foot. You can expect a new plaster finish to last about 10 years.
- Aggregate Finishes: Finishes like pebbles or quartz are a popular middle-ground, costing between $5 and $7 per square foot and offering excellent durability and a unique look.
- Tile: Glass or porcelain tiles are the premium option, ranging from $4 to over $30 per square foot. While it's a bigger initial investment, a tile surface can last for decades with proper care.
Factors That Affect the Final Price
Beyond the material itself, a few other elements will influence your final quote. The size and shape of your pool are the most obvious; a larger or more intricately shaped pool requires more material and labor. The current condition of your pool also matters. If there are significant cracks or structural issues that need to be addressed before the new surface can be applied, that will add to the cost.
Here in Colorado, our unique climate can also be a factor in choosing the right material for longevity. Finally, think about the long-term maintenance. Some surfaces require more specific care and supplies or chemicals to stay looking their best, which is an important part of the total cost of ownership.
Professional vs. DIY: Is It Worth It?
It can be tempting to try and save money by tackling a resurfacing project yourself, but this is one job where professional expertise is truly worth it. Resurfacing is a complex, labor-intensive process that requires specialized tools and knowledge. A DIY attempt gone wrong can lead to an uneven finish, improper curing, and costly mistakes that a professional will have to fix later.
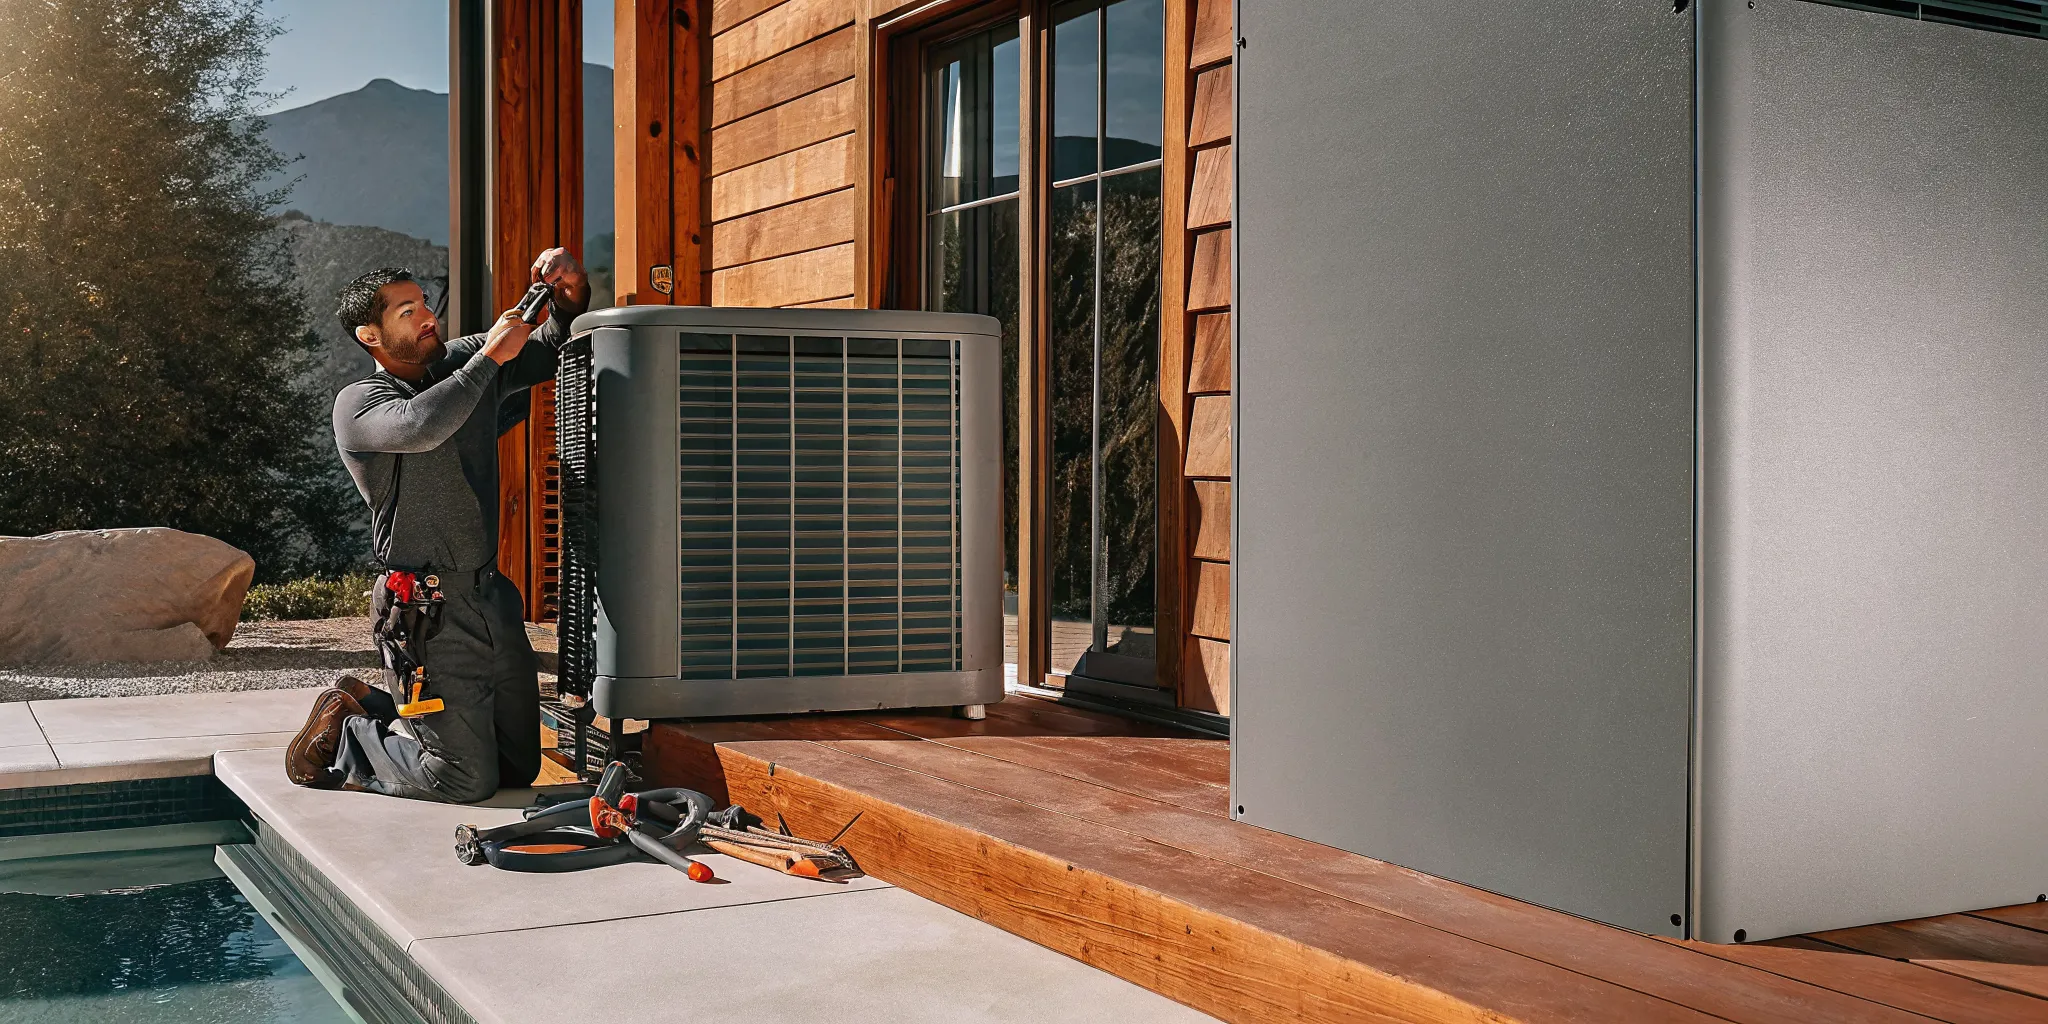
Hiring a certified technician ensures the job is done efficiently and correctly from the start. A pro can also identify underlying issues you might miss, like problems with your plumbing or filtration system. During a resurfacing project, we often perform checks on other pool components, preventing future headaches with your equipment and servicing. Investing in a professional is an investment in peace of mind and a beautiful, long-lasting finish.
The Resurfacing Process: A Step-by-Step Guide
Giving your pool a new surface is a significant project, but understanding the process can make it feel much more manageable. When you know what’s happening at each stage, you can feel confident in the work being done and ask the right questions along the way. Think of it as a partnership between you and your pool professional. While every pool is unique, the core steps are generally the same. Knowing what to expect helps you prepare and ensures you can appreciate the craftsmanship that goes into a professional resurfacing job. This is one of those projects where expertise truly matters, as each stage builds on the last to create a beautiful and durable finish. A proper remodel and rehab will transform your backyard oasis for years to come, and it all starts with a solid plan.
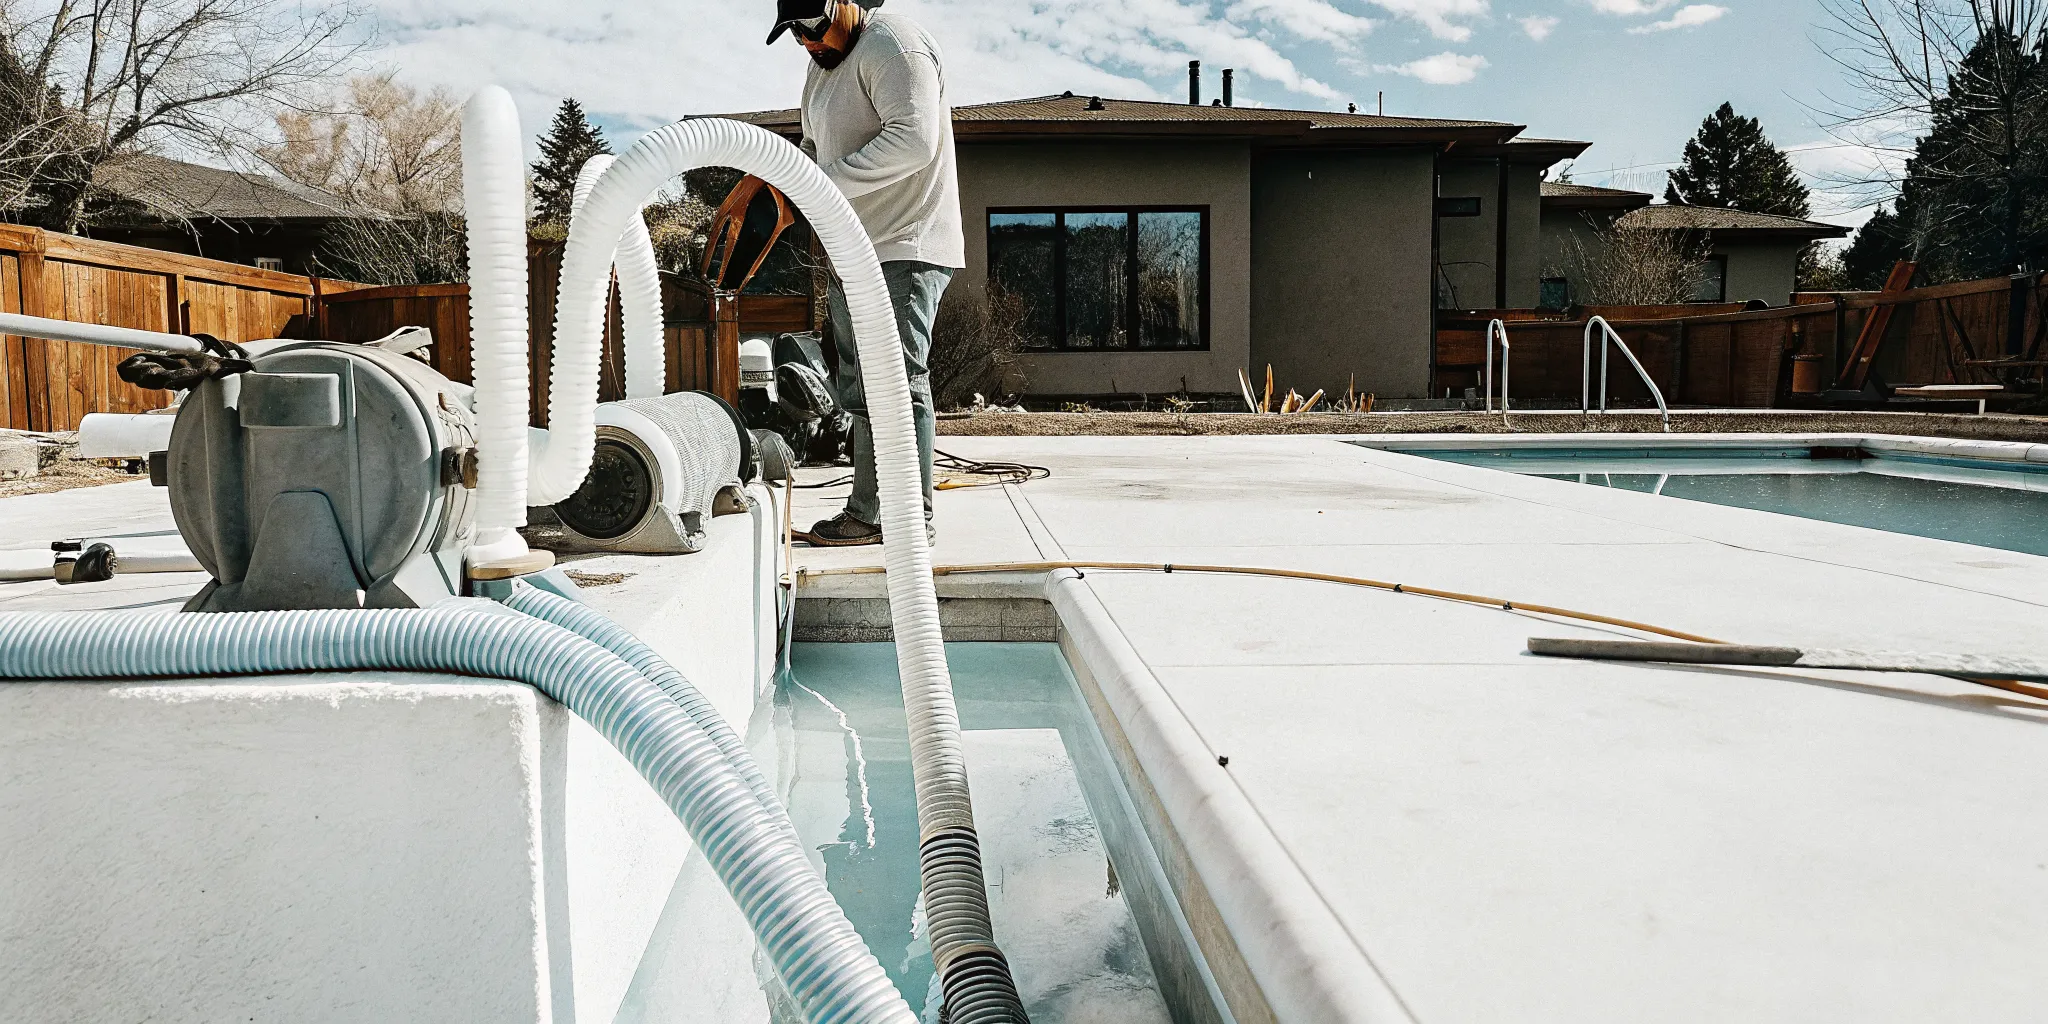
Step 1: Drain the Pool
Before any work can begin, the pool must be completely empty. We start by professionally draining all the water, which allows for a full inspection of the existing surface. This is our first chance to get a clear look at any cracks, stains, or rough spots that need attention. Draining the pool safely and efficiently requires specialized equipment to protect the pool shell from hydrostatic pressure, which is especially important with the soil conditions here in the Denver area. Once empty, the pool becomes a clean slate, ready for its transformation.
Step 2: Prep and Repair the Surface
This is where the real work begins. The goal is to create a perfect canvas for the new finish. Our team starts by cleaning out any debris and then uses methods like sandblasting or hydro-blasting to strip away the old, failing surface. This process roughs up the shell just enough to ensure the new material will bond securely. During this stage, we meticulously inspect for and repair any underlying cracks or hollow spots. Properly addressing these issues is critical for preventing future problems and ensuring the longevity of your new pool surface.
Step 3: Apply the New Finish
With the surface prepped and repaired, it’s time to apply the new finish. This step requires a skilled and steady hand. First, a bond coat is applied to the pool shell, acting as a primer to help the new material adhere. Next, our technicians apply your chosen finish, whether it's classic plaster or a modern aggregate. They work carefully to trowel the material to a smooth, consistent, and watertight layer. The artistry in this step is what creates that stunning final look and feel you’ll enjoy every time you swim.
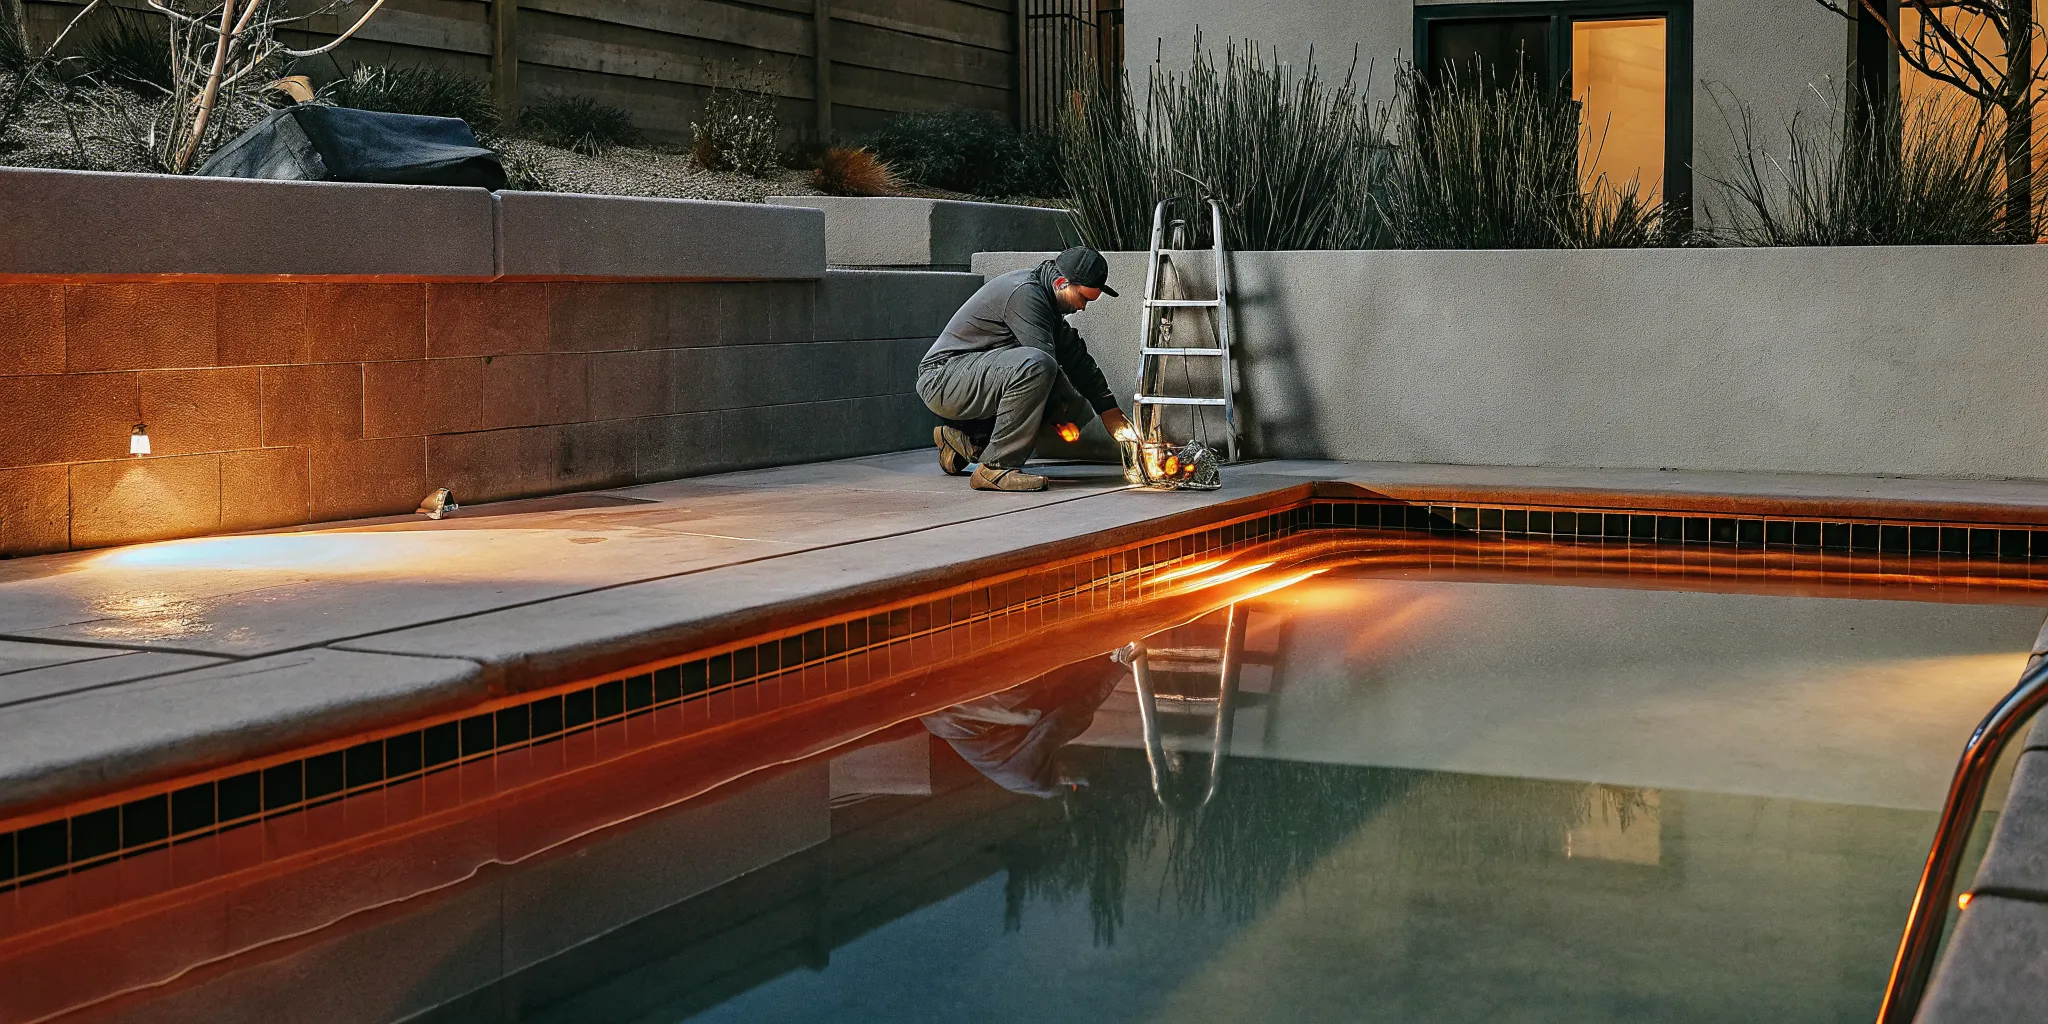
Step 4: Seal Fixtures and Fittings
A beautiful new surface can be undermined by small leaks. That’s why we take the time to inspect and seal all the fixtures and fittings in your pool. This includes the main drains, return jets, lights, and skimmers. We ensure every penetration point is properly sealed to prevent water from seeping behind the new finish, which could cause it to fail prematurely. This detailed work is a key part of our commitment to quality and protects your investment in both the new surface and your pool’s equipment.
Step 5: Refill and Balance the Water
Once the new surface has had some initial time to set, we can begin refilling the pool with fresh water. This is an exciting moment, but the job isn’t done just yet. The water chemistry in a newly resurfaced pool is extremely important for the curing process, which can take several weeks. We immediately begin balancing the water, adding the necessary chemicals to protect the new finish from staining or scaling. This initial "startup" chemistry is more intensive than routine cleaning and maintenance and is vital for a long-lasting, beautiful result.
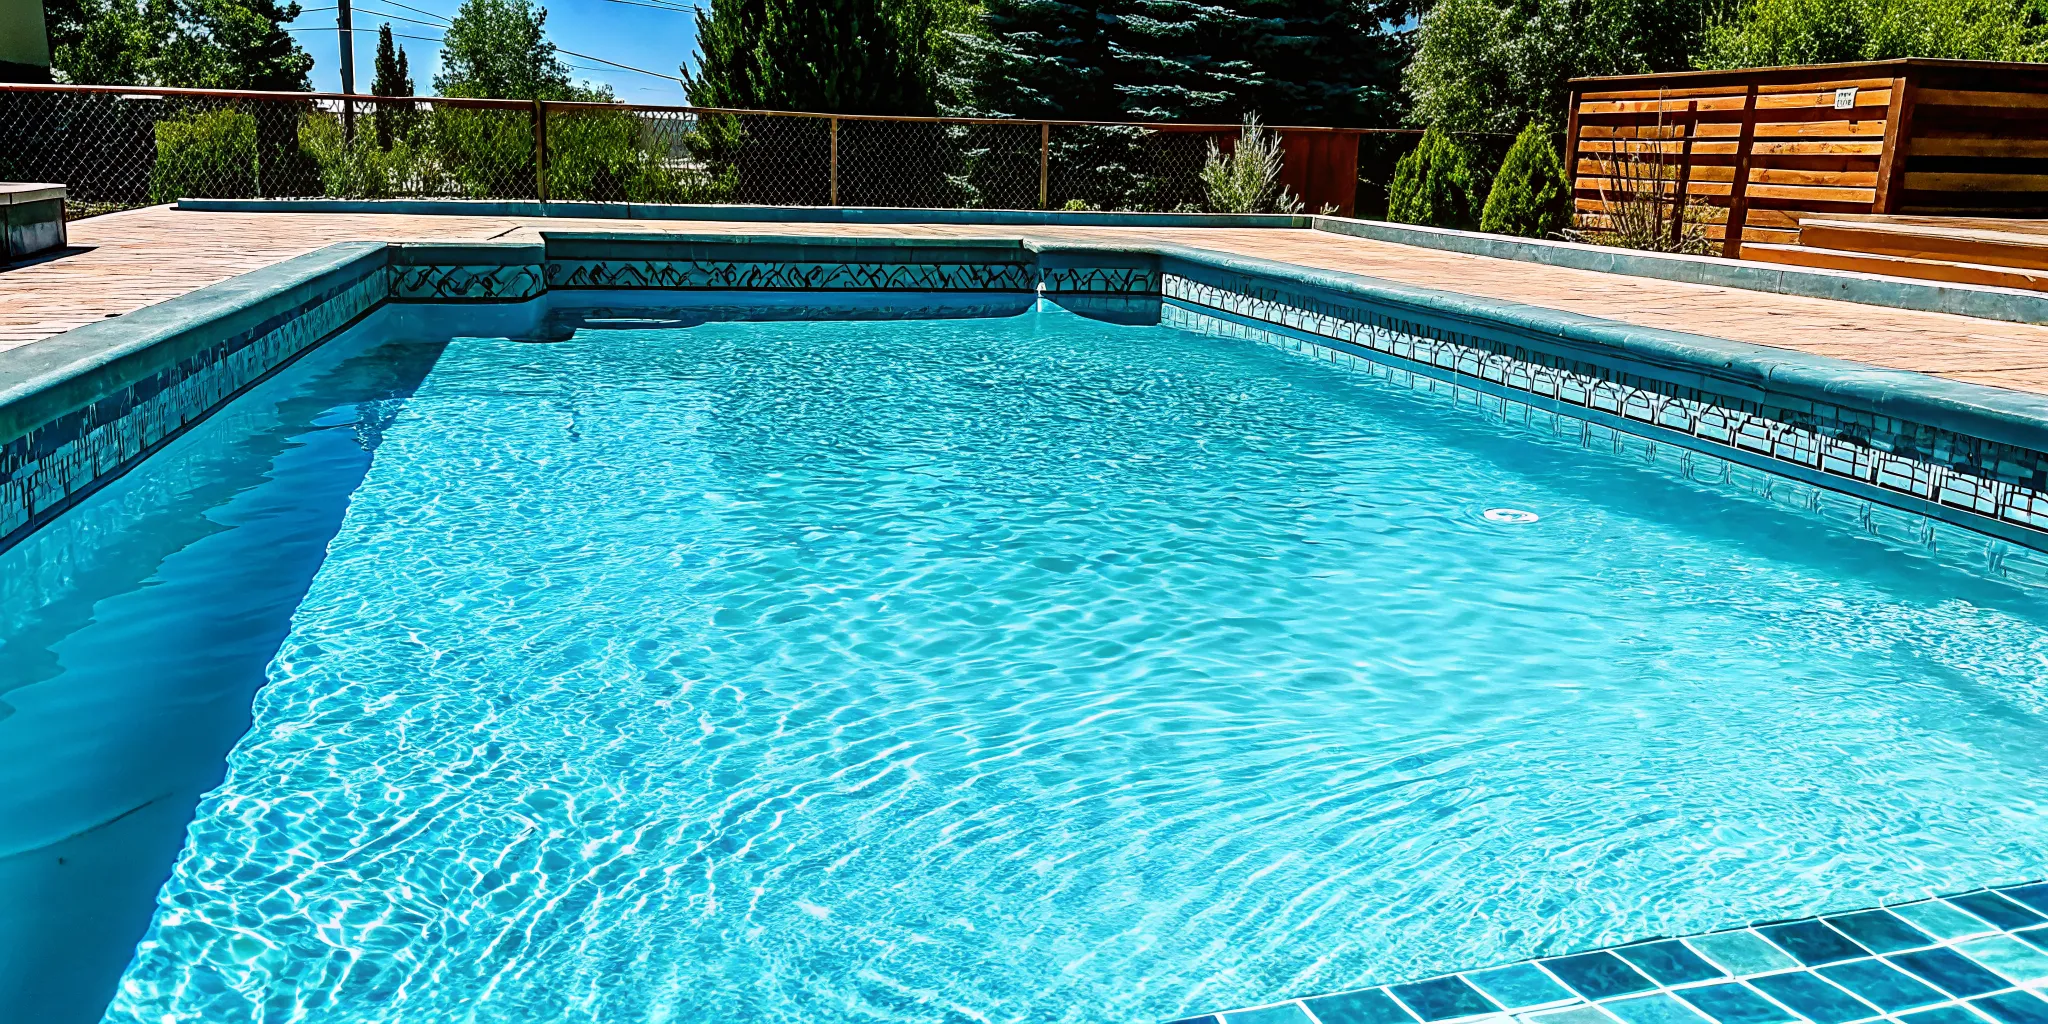
What to Expect After Resurfacing
The dust has settled, the crew has packed up, and your pool has a beautiful new finish. Congratulations, you’re on the home stretch. But before you grab your swimsuit and plan a pool party, there are a few crucial final steps. The period immediately following a resurfacing project is all about letting the new material cure properly and establishing the right water chemistry. Getting this part right is essential for protecting your investment and ensuring your new surface looks great for years to come. Think of it as the final, most important phase of your pool’s transformation.
Curing Time: When Can You Swim Again?
I know you’re eager to jump in, but patience is key. The new surface needs time to cure, or harden, underwater. While the resurfacing process itself can take several days, you’ll still need to wait a bit longer before swimming. Generally, you can expect to wait about seven days after the pool is refilled and the water is balanced. However, this timeline can vary based on the type of finish you chose and the weather conditions. Plaster, for example, can take up to a month to cure fully. Your contractor will give you a specific timeline, so be sure to follow their instructions carefully to avoid damaging the finish.
Post-Resurfacing Water Care
This is where things get scientific. After your pool is refilled, the water chemistry needs immediate and careful attention. An imbalanced pH can stain or damage your brand-new surface, sometimes permanently. For the first few weeks, you will need to brush the entire pool surface daily to remove plaster dust and prevent it from settling and hardening on the finish. You’ll also need to test the water frequently and make precise chemical adjustments. This initial balancing act is delicate, which is why many homeowners rely on professional cleaning and maintenance to get it right. It’s the best way to protect your new surface and ensure it cures perfectly.
Common Resurfacing Mistakes to Avoid
Resurfacing your pool is a significant investment in your home, so you want to make sure it’s done right the first time. A great new finish can give you years of enjoyment, but a few common missteps can lead to headaches and extra costs down the road. By being aware of these potential pitfalls, you can ensure your project goes smoothly and your pool looks fantastic for a long time.
From the initial prep work to the final water fill, every step matters. Let's walk through the most frequent mistakes homeowners make during a pool resurfacing project and how you can steer clear of them.
Skipping Proper Surface Prep
Think of it like this: you wouldn't paint a wall without sanding and priming it first. The same principle applies to your pool, but on a much larger scale. The new finish needs a clean, solid, and properly prepared surface to bond to. Skipping or rushing this step is a recipe for failure, often leading to a finish that peels, cracks, or delaminates within a few years. Proper preparation involves draining the pool, cleaning away debris, and often acid washing or sandblasting the old surface to create the perfect texture for the new material. This is a demanding job that requires skill and the right equipment to ensure your new surface lasts.
Ignoring Deeper Structural Problems
A new surface can make your pool look brand new, but it’s a cosmetic fix, not a structural one. Simply plastering over issues like deep cracks, bulges in the wall, or significant flaking is like putting a band-aid on a broken bone. These are often signs of deeper problems, such as ground shifting or water leaks, that need to be addressed before any resurfacing begins. A reputable contractor will perform a thorough inspection to identify any underlying damage. Addressing these issues first is crucial, as they often require professional equipment repairs and servicing to ensure the long-term stability of your pool.
Choosing the Wrong Contractor
The quality of your resurfacing job depends heavily on the skill of the person applying the finish. A poorly chosen contractor can turn your dream pool into a nightmare with uneven application, messy work, or a finish that fails prematurely. When vetting contractors, look for a team that is licensed, insured, and has extensive experience with Colorado's specific climate. Ask for references, look at their past projects, and make sure they provide a clear, detailed contract. A professional team with local expertise will understand how to handle Denver's weather and soil conditions, which is essential for a lasting pool or spa remodel.
Underestimating the Total Cost
It’s easy to focus on the sticker price of the resurfacing material, but that’s only one piece of the puzzle. The total cost of a resurfacing project can vary widely based on the size of your pool, the material you choose, and the amount of prep work required. For example, if significant cracks are discovered during the prep phase, the cost of repairs will be added to your final bill. To avoid surprises, get a detailed, itemized quote from your contractor that breaks down all the potential costs. This transparency helps you budget effectively and understand exactly what you’re paying for, from labor to the supplies and chemicals for the initial water balancing.
Make Your New Pool Surface Last
You’ve just invested in a beautiful new pool surface, and it looks fantastic. Now, the goal is to keep it that way for as long as possible. With the right care routine, you can protect your investment and extend the life of your finish for years to come. It all comes down to consistent maintenance and knowing what to look for. Think of it as simple, preventative care that saves you from bigger headaches down the road.
Clean and Brush Regularly
Consistent upkeep is your new surface’s best friend. Regular brushing prevents algae from taking hold and stops stains before they set in, which is especially important for plaster finishes. Make it a habit to brush the walls, steps, and floor of your pool at least once a week. This simple task lifts fine debris and sediment so your filter can whisk it away. If your schedule is already packed, consider setting up a professional cleaning and maintenance plan. We can handle the routine work so you can simply enjoy your pristine pool.
Keep Your Water Chemistry Balanced
Think of your pool water as a delicate ecosystem. When chemicals like chlorine or pH are out of whack, they can start to eat away at your new finish, causing discoloration or rough patches. Testing your water weekly is crucial. You want to keep everything within the ideal range to protect the surface and ensure the water is safe for swimming. If you’re not confident managing the chemistry on your own, our technicians are experts at achieving the perfect balance. We can also make sure you have the right supplies and chemicals on hand.
Protect Your Pool from Colorado's Climate
Here in Colorado, our pools face unique challenges from the weather. The intense sun can fade your finish over time, while our freezing winters can lead to cracks if the pool isn't properly prepared. Using a good pool cover can shield the surface from harsh UV rays during the swimming season. Most importantly, proper winterization is non-negotiable to prevent freeze-thaw damage. A solid maintenance routine that accounts for our local climate is the best defense for helping your pool surface last longer.
Watch for Early Signs of Wear
Catching small issues early can prevent them from turning into major, expensive repairs. Get in the habit of visually inspecting your pool’s surface every so often. Keep an eye out for things like small cracks, faded or discolored spots, or any blistering or flaking in the plaster. You might also notice the surface feeling rough on your feet. If you spot any of these warning signs, it’s a good idea to have a professional take a look. Addressing them promptly can often lead to a simple fix rather than a full remodel or rehab.
Ready to Refresh Your Denver Pool?
If your backyard pool is starting to look a little tired, resurfacing might be the perfect solution. Think of it as a major facelift for your pool. The process, also known as refinishing, involves carefully removing the old, worn-out surface and applying a fresh, durable layer. This not only brings back your pool's sparkle but also helps prevent leaks and extends its life.
So, how do you know it’s time? Keep an eye out for some common signs your pool needs a refresh. Are you noticing stubborn stains that won’t scrub away, or is the color just not what it used to be? Maybe the surface feels rough on your feet, or you’re seeing visible cracks and peeling. These are all clues that your pool is ready for an update. As a general rule, you should plan to resurface your pool about every 10 years, though this can vary depending on the material and our local climate.
A fresh surface isn't just about looks, though. It’s a great way to address issues like cracks and leaks, making your pool safer and more durable for years of summer fun. When it comes to budgeting, the average cost for a 1,000-square-foot pool is around $6,500, with plaster being a popular and cost-effective option.
Choosing the right material is key to a long-lasting finish, especially with Colorado's unique weather patterns. This is where getting expert advice makes all the difference. If you're seeing the signs and are curious about what a refresh could do for your backyard, our team at Neptune Pools is here to help. We specialize in pool remodels and rehabs and can walk you through every option to bring your vision to life.
Ready for a cleaner pool?
Denver's trusted pool care professionals since 1982. Get started today.
Schedule ServiceFrequently Asked Questions
How long will my pool be out of commission for a resurfacing project? The entire process, from draining the pool to getting the green light to swim, typically takes about two weeks. The actual work of prepping the surface and applying the new finish usually lasts several days. After that, we refill the pool, but you’ll need to wait about another week for the surface to cure and the water chemistry to stabilize before you can safely jump in.
I only have a few stains and a small crack. Can I just patch these spots instead of resurfacing the whole pool? While you can patch minor spots, it’s usually a temporary fix. Think of it like this: if one part of the surface is failing, the rest is likely not far behind. Stains and cracks are often signs that the entire finish has become porous and is nearing the end of its life. A full resurfacing is the only way to guarantee a uniform, watertight seal that protects your pool’s structure for the long term.
What's the best resurfacing material for a pool in the Denver area? Given our unique Colorado climate with its intense sun and freeze-thaw cycles, durability is key. Aggregate finishes, like quartz or pebble, are fantastic choices for our area. They stand up to the elements exceptionally well and offer a longer lifespan than traditional plaster. While plaster is still a solid option, investing in an aggregate finish often provides better long-term value and resilience for Denver homeowners.
Will draining and refilling my pool for this project cause a huge spike in my water bill? Yes, you will see an increase in your water bill for the month of the project, as refilling a pool requires thousands of gallons of water. It’s helpful to think of this as a one-time utility cost that is part of a major home improvement project. When you consider the value and protection that resurfacing provides for your pool, this cost is a small but necessary part of the overall investment.
Why is the aftercare so important if the surface is brand new? The first few weeks are critical because your new pool surface is still curing, or hardening, underwater. The water chemistry has to be perfectly balanced during this time to prevent permanent stains or damage to the fresh finish. Daily brushing is also essential to sweep away fine plaster dust before it can settle and create a rough texture. This careful aftercare is what ensures your beautiful new surface cures correctly and lasts for years.
Related Blogs