Pool Water Balancing 101: A Beginner's Guide
Here in Colorado, our unique climate adds another layer to pool care. The intense, high-altitude sun, dry air causing rapid evaporation, and sudden afternoon thunderstorms all have a direct impact on your water. These factors can throw your chemistry out of whack in a hurry, making your chlorine less effective and your pH levels unstable. This is why mastering pool water balancing is so critical for Denver-area pool owners. Staying on top of your water chemistry is the key to counteracting the effects of our local environment, protecting your equipment, and keeping your pool safe and swim-ready all season long.
Ready for a cleaner pool?
Denver's trusted pool care professionals since 1982. Get started today.
Schedule ServiceKey Takeaways
- Focus on the Core Five for Stability: Your pool's health depends on five key levels: pH, total alkalinity, calcium hardness, cyanuric acid, and chlorine. Consistently keeping these in range is the best way to prevent damage to your pool's surfaces and equipment.
- Follow the Correct Order of Operations: Test your water two to three times a week and always add chemicals in the right sequence. Adjust calcium first, followed by alkalinity, pH, cyanuric acid, and finally chlorine to avoid wasting chemicals and redoing your work.
- Test Beyond Your Weekly Routine: A regular schedule is a great start, but always test your water after events like a heavy rainstorm or a big pool party. Knowing when to do an extra test, or when to call a pro for stubborn issues, is key to avoiding bigger problems.
What Is Pool Water Balancing (and Why Is It So Important)?
Think of your pool water as a delicate ecosystem. Pool water balancing is simply the practice of keeping key chemical levels within their ideal ranges. This is what makes the water safe, comfortable for swimmers, and sparkling clear. But it’s about so much more than just looks. Consistently balanced water is the single most important thing you can do for your pool’s health and longevity, and it's the foundation of all other pool care.
Properly balanced water protects your investment. It prevents corrosion, staining, and scale buildup on your pool’s surfaces and plumbing. As the team at Latham Pools points out, it also protects your pool equipment like heaters and pumps from costly damage. While the chemistry might seem complicated at first, understanding the basics puts you in control. It transforms pool care from a frustrating guessing game into a simple, repeatable routine that saves you time and money in the long run. And if you ever feel like you're in over your head, our professional cleaning and maintenance services are always here to help keep your water perfect.
The Problem with Unbalanced Pool Water
When your pool’s chemistry is off, you’ll notice it. Unbalanced water can cause a host of frustrating and expensive issues. According to Leslie's Pool, common problems include skin and eye irritation for swimmers, stubbornly cloudy water, and even algae blooms that turn your beautiful oasis green. These issues are often just the visible symptoms of a deeper chemical imbalance that can cause serious harm.
For example, if your pH level drops too low, the water becomes acidic. This corrosive water can etch plaster, wrinkle vinyl liners, and damage metal components like ladders and light fixtures. If the pH is too high, scale can form on your pool surfaces and clog your filter, and your chlorine will become less effective at killing germs. Ignoring these issues can lead to expensive equipment repairs and a lot of headaches.
How Colorado's Climate Impacts Your Pool
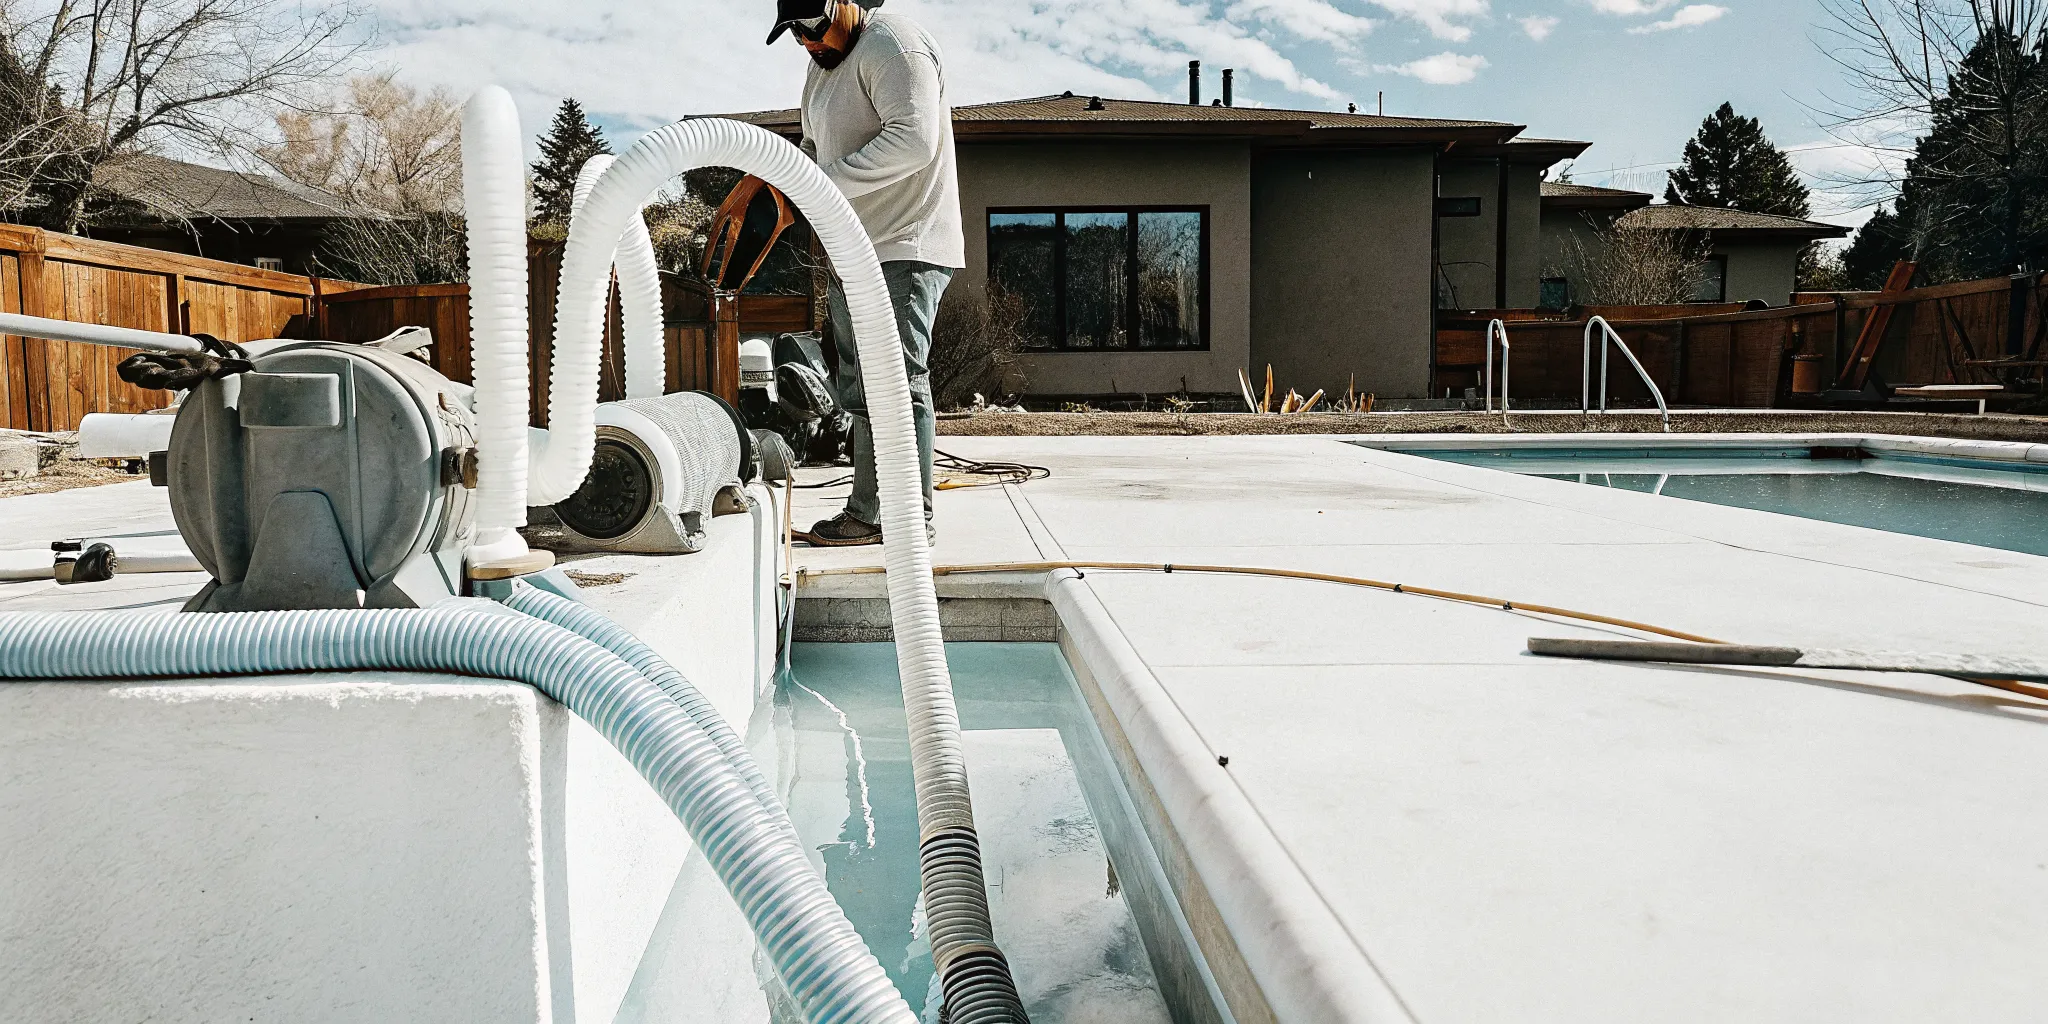
Here in Colorado, our unique climate adds another layer to pool maintenance. As a general rule, everything that enters your pool, from rain and leaves to swimmers themselves, can change its chemical balance. But our dry air and intense sun create a specific challenge: evaporation. In areas with high evaporation rates, you’ll find yourself adding fresh water to the pool more often.
While topping off your pool is necessary, all that new water dilutes the existing chemicals. This constant dilution means your pH, alkalinity, and sanitizer levels can fluctuate wildly if you’re not paying close attention. That’s why frequent testing is so critical for Denver-area pool owners. Staying on top of your water chemistry is the key to counteracting the effects of our climate and keeping your pool safe, clear, and ready for fun all season long.
Your Pool Chemistry Cheat Sheet: 5 Key Chemicals
Getting your pool water just right can feel like a high school chemistry class all over again, but don't worry. You only need to focus on five key players to keep your water clear, safe, and comfortable. Think of this as your go-to cheat sheet. Understanding what each chemical does and why it matters is the first step to spending less time on maintenance and more time enjoying your pool. Once you get the hang of it, balancing these five elements will become a simple part of your routine.
pH: The Foundation of Balance (Ideal: 7.2 – 7.6)
Think of pH as the cornerstone of your pool's water balance. It measures how acidic or basic your water is on a scale from 0 to 14. The sweet spot for a swimming pool is a slightly basic level between 7.2 and 7.6. If your pH drops too low, the acidic water can irritate your skin and eyes, and even start to corrode your pool equipment and surfaces. On the other hand, if your pH is too high, it can cause cloudy water and scale buildup. High pH also dramatically reduces the effectiveness of your chlorine, meaning your sanitizer can't do its job properly.
Total Alkalinity: Your pH Buffer (Ideal: 80 – 120 ppm)
Total alkalinity (TA) and pH are close partners. TA acts as a buffer that helps keep your pH level stable and prevents it from swinging wildly. The ideal range for total alkalinity is between 80 and 120 parts per million (ppm). When your TA is too low, the pH level can become very erratic, a frustrating issue known as "pH bounce." You might adjust it perfectly one minute, only to find it's completely off the next. If your TA is too high, it can "lock" the pH in place, making it incredibly difficult to lower. Proper TA levels are essential for gaining control over your water chemistry.
Calcium Hardness: Protect Your Pool's Surfaces (Ideal: 180 – 220 ppm)
Calcium hardness measures the amount of dissolved calcium in your pool water. Keeping this level between 180 and 220 ppm is crucial for protecting the physical structure of your pool. If the water is too "soft" (low calcium), it will become aggressive and try to pull calcium from wherever it can find it, like your pool's plaster, grout, or vinyl liner. This can lead to serious and costly damage over time. Conversely, water that is too "hard" (high calcium) will deposit that excess calcium as ugly, rough scale on your pool surfaces and clog your filtration system. If you see this kind of damage, you may need professional remodels and rehabs to fix it.
Cyanuric Acid (CYA): Your Chlorine's Sunscreen (Ideal: 30 – 50 ppm)
Cyanuric acid, often called stabilizer or conditioner, acts like sunscreen for your chlorine. Here in sunny Colorado, the sun's UV rays can break down and destroy your chlorine in just a few hours. CYA forms a weak bond with the chlorine, protecting it from the sun so it can last much longer. For an outdoor pool, you'll want to maintain a CYA level between 30 and 50 ppm. Without enough CYA, you'll be constantly adding chlorine just to keep up. However, too much CYA can be a problem, as it can make your chlorine slow and ineffective. It's all about finding that perfect balance.
Chlorine: The Sanitizer (Ideal: 1 – 3 ppm)
Chlorine is the workhorse of your pool, the sanitizer responsible for killing harmful bacteria, viruses, and algae to keep the water safe for swimming. While it's not technically a "balancing" chemical, you can't have a healthy pool without it. You should aim to maintain a free chlorine level between 1 and 3 ppm at all times. If the level drops too low, you risk algae blooms and unsafe water. If it's too high, it can cause irritation and a strong chemical smell. Consistent chlorination is a key part of any cleaning and maintenance routine and ensures your pool is always ready for a swim.
How to Test Your Pool Water
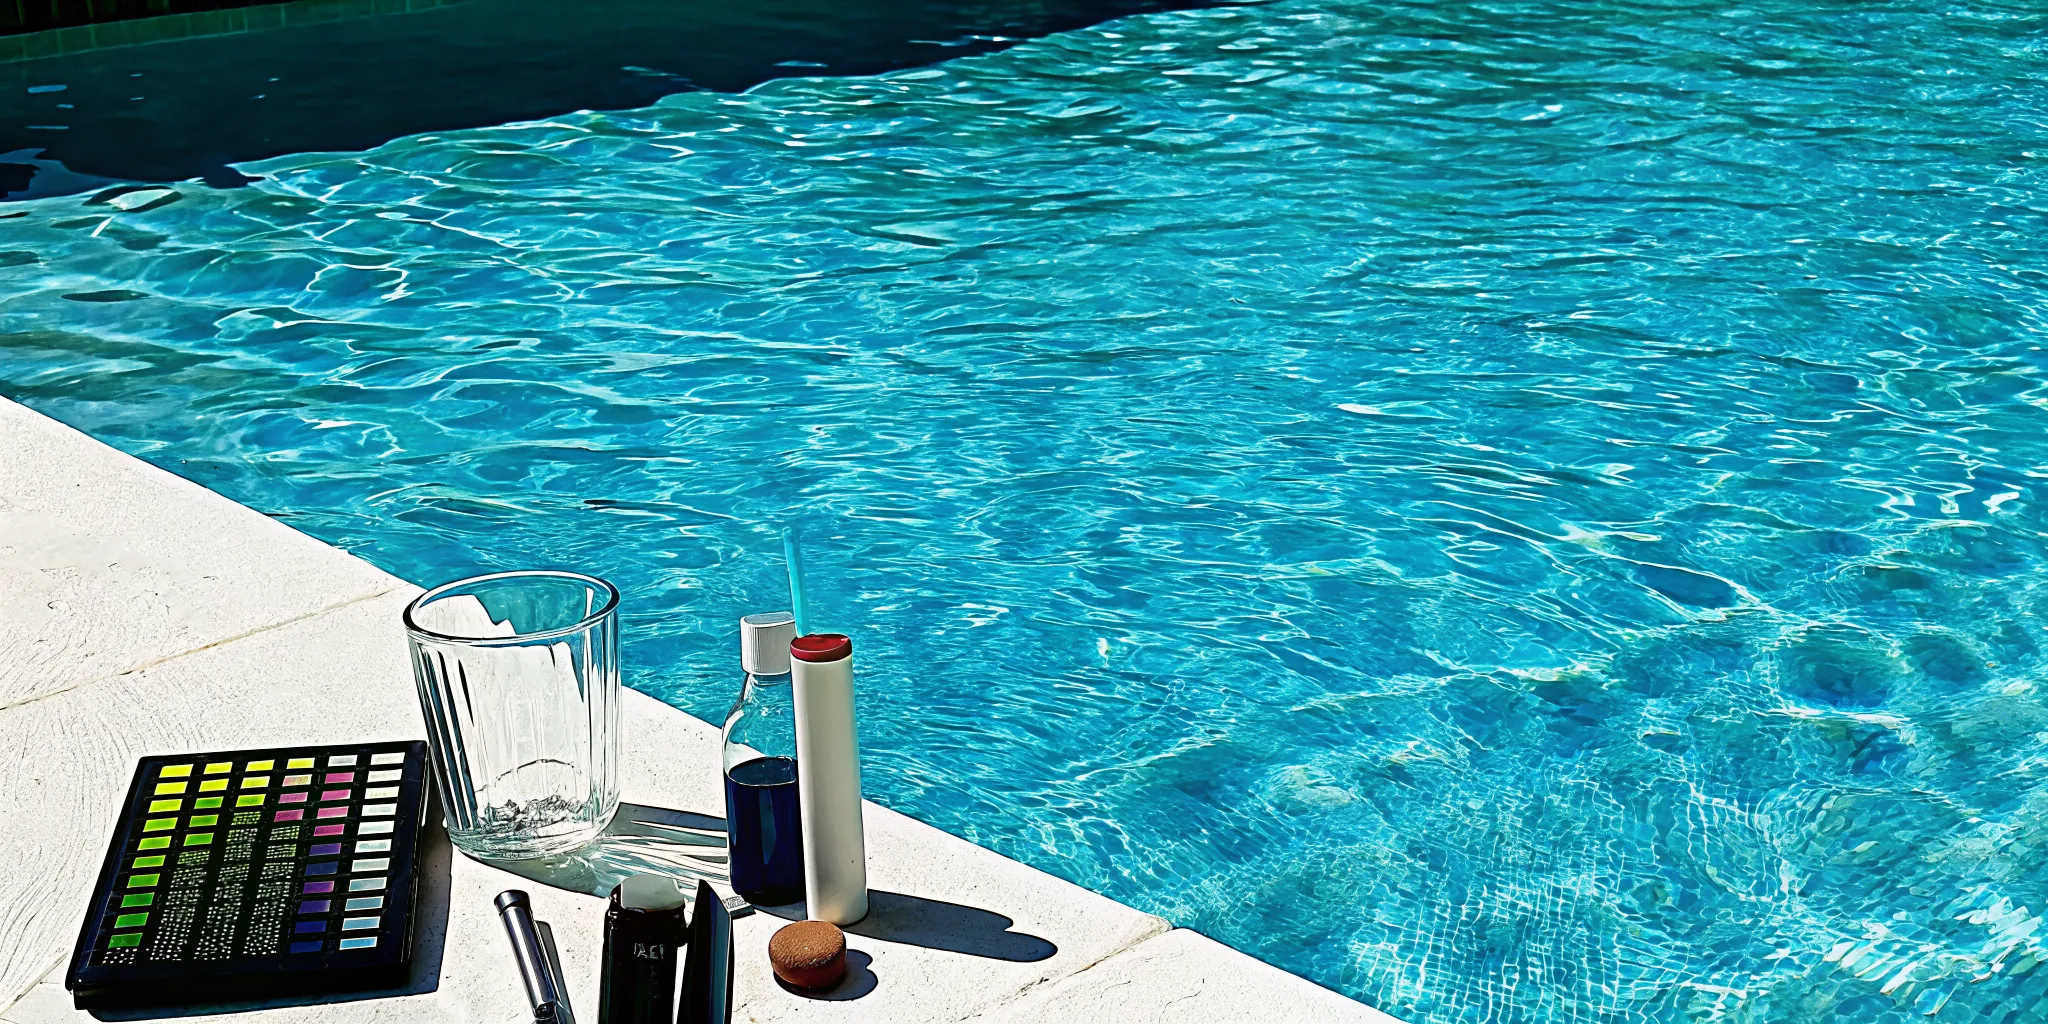
Before you can balance your pool water, you need to know what you’re working with. Testing your water is the essential first step, giving you a clear snapshot of your pool’s current chemical levels. Think of it as reading a recipe before you start cooking; it prevents you from adding too much of one thing or not enough of another. Luckily, you have a few different options for testing at home, each with its own pros and cons.
The most common methods are test strips, liquid test kits, and digital testers. Test strips are fast and simple, perfect for quick weekly checks. Liquid kits require a bit more effort but deliver more precise results, which is crucial when you’re making adjustments. Digital testers offer modern convenience, giving you a number on a screen instead of making you compare colors. Whichever method you choose, consistency is what matters most. Regular testing helps you catch imbalances early, before they turn into bigger problems like cloudy water or algae. And if you ever feel unsure about your results, our professional cleaning and maintenance services include expert water analysis to give you total peace of mind.
Testing with Strips
Test strips are the most user-friendly way to check your pool water. They’re great for getting a quick, general reading of your most important chemical levels. Each bottle has a color chart printed on the side, making it easy to interpret the results.
Here’s how to use them:
- Dip one strip into the pool water about 18 inches deep, away from any jets or skimmers.
- Hold it there for a few seconds, then pull it out with the pads facing up.
- Don’t shake off the excess water. Just hold the strip level for about 15 seconds.
- Compare the colors on the strip to the chart on the bottle to see your pH, chlorine, and alkalinity levels.
Using a Liquid Test Kit
If you’re looking for more accuracy, a liquid test kit is your best bet. These kits are the gold standard for DIY pool testing because they provide more precise measurements than strips. This accuracy is especially important when you need to make specific chemical adjustments.
Using a liquid kit involves a few simple steps:
- Collect a water sample from about elbow-deep (12 to 18 inches) in your pool.
- Fill the kit’s vials to the indicated line with your water sample.
- Add the specified number of drops from the reagent solution into each vial.
- Cap the vials and gently invert them a few times to mix.
- Compare the resulting water color to the color standards on the testing block.
Going Digital with Electronic Testers
For those who love gadgets, a digital tester offers a modern approach to water testing. These handheld devices read your water sample and display the results on a screen, eliminating the guesswork of comparing colors. Many can even connect to your phone via an app to track your results over time.
While they are incredibly convenient, digital testers can be more expensive than strips or liquid kits. It’s also important to note that some models may be less accurate than a high-quality liquid kit. To get the best results, always calibrate the device and follow the manufacturer’s instructions carefully. A digital tester can be a great tool for daily checks, but it’s wise to double-check with a liquid kit periodically.
Pro Tips for Accurate Results
Getting an accurate test result is all about technique. A bad water sample can throw off your readings and lead you to add the wrong chemicals. To make sure you’re getting a true picture of your pool’s health, follow these simple tips.
First, always run your pump for at least an hour before collecting a sample to ensure the water is properly circulated. When you’re ready, use a clean cup or bottle to scoop water from 12 to 18 inches below the surface, away from the skimmer and return jets. Test your water two to three times per week, and always retest after a rainstorm or a big pool party. For a complete and detailed analysis, consider getting a professional test once a month. Our team uses top-of-the-line equipment to provide a comprehensive report during our spa services and pool maintenance visits.
The Right Way to Add Pool Chemicals: A 5-Step Guide
Adding chemicals to your pool isn't just about what you add, but when you add it. Think of it like baking a cake; you can't just throw all the ingredients in a bowl at once and expect a perfect result. The order matters because each chemical influences the others. Following a specific sequence ensures each one works effectively, saving you from wasting time and money re-balancing everything later. Before you start, always read the product labels for specific instructions and safety precautions. It's always a good idea to wear gloves and eye protection when handling pool chemicals.
Make sure your pool pump is running to circulate the water as you add each chemical, which helps them dissolve and distribute evenly. The only exception is when you need to lower total alkalinity, which we'll cover below. This step-by-step guide breaks down the correct order for achieving a safe and sparkling clean pool. If you're gathering your supplies and feel unsure about which products to choose, our team can help you get the right supplies and chemicals for your specific pool. Getting the chemistry right is the key to clear water, and we're here to make it simple.
Step 1: Start with Calcium Hardness
First on the list is calcium hardness. This chemical protects your pool's surfaces, like plaster and vinyl liners, from damage. If your test shows the level is too low, you'll need to add a calcium hardness increaser (calcium chloride). If it's too high, the solution is a bit more involved. High calcium can cause cloudy water and scale buildup on your pool surfaces and inside your equipment. The most effective way to lower it is by partially draining your pool and refilling it with fresh water. Because this can be a big job and potentially impact your pool equipment, it's a good time to consult a professional.
Step 2: Adjust Total Alkalinity
Once your calcium is in range, it's time to look at total alkalinity (TA). TA acts as a buffer for your pH, helping to keep it stable. If your TA is low, pH levels can swing wildly. To raise it, add an alkalinity increaser (sodium bicarbonate) according to the package directions. If your TA is too high, it can make adjusting the pH difficult. To lower it, you'll use a pH decreaser, like muriatic acid. For this specific task, turn the pump off and pour the acid into a single spot in the deep end to allow it to work on the alkalinity without affecting the pH as much.
Step 3: Fine-Tune the pH
With your total alkalinity now in the ideal range, you can accurately adjust the pH. This is one of the most important steps for swimmer comfort, as a pH that’s too high or too low can cause skin and eye irritation. It also directly impacts how well your chlorine works. If the pH is too high, chlorine becomes less effective at sanitizing the water. Use a pH increaser (soda ash) to raise low pH levels and a pH decreaser (muriatic acid or sodium bisulfate) to lower high pH levels. Add the chemical slowly and retest after a few hours to ensure you've hit the target.
Step 4: Add Cyanuric Acid (Stabilizer)
Next, check your cyanuric acid (CYA), also known as stabilizer. Think of CYA as sunscreen for your chlorine. Here in sunny Colorado, the sun's UV rays can burn off your chlorine in just a few hours without a proper CYA level. If your test shows low CYA, you'll need to add stabilizer to protect your chlorine and make it last longer. Be mindful that some chlorine products, like tablets or pucks, are "stabilized," meaning they already contain CYA. Using them will gradually increase your CYA level over time, so keep an eye on it during your regular tests.
Step 5: Finish with Chlorine
The final step is adding your sanitizer: chlorine. With all other levels properly balanced, your chlorine can now do its job effectively, which is to kill bacteria and keep your water clean and safe for swimming. Whether you use tablets, liquid chlorine, or a salt chlorine generator, your goal is to maintain a consistent free chlorine level between 1 and 3 ppm. Regularly shocking your pool is also an important part of your cleaning and maintenance routine, as it helps eliminate contaminants that chlorine alone can't handle.
How Long to Wait Between Chemicals
Patience is key when balancing your pool. You can't rush the process by adding all the chemicals at once. As a general rule, you should wait at least two to four hours between adding different chemicals. This gives each product enough time to fully circulate and dissolve in the water before you add the next one. Always run your pump during this time to help with mixing. For the most accurate guidance, check the instructions on the chemical's packaging, as some products may require a longer waiting period. Rushing this step can lead to inaccurate test results and wasted effort.
How Often Should You Test Your Pool Water?
Think of testing your pool water like taking its pulse. It’s a quick, regular check-in that tells you everything you need to know about its health and safety. For many new pool owners, water testing can feel like a chore, but I promise, consistency is your best friend. Sticking to a regular schedule helps you catch small imbalances before they spiral into big, frustrating problems like cloudy water, stubborn algae blooms, or even skin and eye irritation for your swimmers. More importantly, balanced water protects your investment. Improper chemistry can corrode your ladders, bleach your liner, and cause scaling that damages your pump and filter, leading to expensive repairs.
Establishing this habit is one of the most important things you can do as a pool owner. Over time, you’ll get into a rhythm and start to understand your pool’s unique personality. You’ll learn how it reacts to a sunny day, a rainstorm, or a big family swim. This knowledge makes the whole process faster and more intuitive, so you can spend less time playing chemist and more time actually enjoying your beautiful, sparkling pool. The goal is to create a stable, predictable environment in your water, and that all starts with a simple test.
Your Weekly Testing Routine
For a healthy, clear pool, a good rule of thumb is to test your water two to three times per week. Your main focus during these quick tests should be on pH and free chlorine levels, as these can change rapidly with sun exposure and use. Once a week, you should also test for total alkalinity and calcium hardness to make sure your foundational levels are solid. Cyanuric acid, your chlorine’s stabilizer, is more stable and can typically be tested just once a month. To get a complete picture, it’s also a great idea to have a professional perform a detailed water analysis monthly. This expert check-up can spot subtle trends and ensure your at-home testing is on the right track, forming a key part of your overall pool maintenance plan.
When to Test More Often
While a weekly routine is a great baseline, certain situations call for more frequent testing. You’ll want to grab your test kit more often after events that can throw your water chemistry off balance. Plan to test your water after a big pool party with lots of swimmers, following a heavy rainstorm that has diluted the water, or during a particularly intense heatwave when the sun is working overtime. If your water starts to look cloudy or you notice the early signs of algae, you should test immediately to diagnose the problem. If you’re a new pool owner, testing more frequently for the first few months will help you get comfortable with the process and learn your pool’s unique patterns.
Adjusting for Colorado's Seasons
Living in Colorado means dealing with unique environmental factors that directly impact your pool. Our intense, high-altitude sun can burn through chlorine much faster than in other climates, while the dry air causes rapid water evaporation, which concentrates minerals and total dissolved solids. And let’s not forget our sudden afternoon thunderstorms that can dump gallons of rainwater, diluting chemicals and throwing your pH off in an instant. Because of this, you must stay vigilant. Staying on top of your water balance is crucial here, as improper chemistry can lead to scaling on your tile or, worse, corrode your pump and filter. Protecting your pool equipment from this kind of damage starts with regular, season-aware testing.
Avoid These Common Water Balancing Mistakes
Getting your pool water just right can feel like a major win. But even with the best intentions, a few common missteps can throw your chemistry out of whack, leaving you frustrated and back at square one. The good news is that these mistakes are easy to avoid once you know what to look for. Think of this as your guide to sidestepping the most frequent water-balancing pitfalls, so you can spend less time troubleshooting and more time enjoying your pool. Let's walk through what not to do.
Adding Chemicals in the Wrong Order
It’s tempting to just add whatever chemical you think you need, but the order really does matter. Think of it like a recipe: you can’t add the frosting before you’ve baked the cake. Some chemicals directly influence the effectiveness of others. For example, your Total Alkalinity level acts as a buffer for your pH. If you adjust pH first, you’ll likely have to do it all over again after you fix the alkalinity. Following the five-step process we outlined earlier (Calcium, Alkalinity, pH, CYA, Chlorine) ensures each chemical can do its job properly without interference, saving you time, money, and extra work.
Skipping Your Regular Tests
I get it, life gets busy. But letting your water testing slide is one of the quickest ways to end up with a bigger problem, like an algae bloom or cloudy water. Your pool’s chemistry is constantly changing due to sun, rain, and use. A good rule of thumb is to test your water at least two to three times per week during swim season. Even a quick dip with a test strip is better than nothing. Consistent testing allows you to catch minor fluctuations and make small, easy adjustments before they become major, expensive headaches. It’s the single best habit for maintaining a clear and healthy pool.
Forgetting About Cyanuric Acid
Here in Colorado, we get a lot of beautiful, intense sunshine. While that’s great for a pool day, the high-altitude UV rays are brutal on your chlorine. This is where Cyanuric Acid (CYA) becomes your best friend. It acts like sunscreen for your chlorine, protecting it from being burned off by the sun in just a few hours. If your CYA level is too low, you’ll be constantly adding chlorine and wondering where it all went. Forgetting to monitor and maintain your CYA is like throwing money away, so make sure this "stabilizer" is always on your testing checklist.
Using Too Many Chemicals at Once
When your water chemistry is off, you might feel an urge to fix everything at once by adding multiple chemicals to the water. Please don't do this. Never mix different pool chemicals together before adding them to the pool, and always give each one time to work. As a general guideline, you should wait at least four hours between adding different chemicals. This gives them time to fully dissolve and circulate throughout the pool, which is essential for getting an accurate reading when you retest. Rushing the process can lead to ineffective results and might even create unsafe swimming conditions.
Not Retesting After Rain or a Pool Party
Your pool doesn't exist in a bubble. Events like a heavy Colorado downpour or a fun-filled pool party with lots of swimmers can drastically alter your water balance. Rainwater is often acidic and can dilute your carefully balanced chemicals, while swimmers introduce sweat, oils, and other contaminants. After one of these events, it's crucial to test your water again. A quick retest will show you exactly what you need to do to get your pool back on track. If the post-party cleanup feels like a chore, remember that a professional cleaning and maintenance service can handle it for you.
Simple Habits for Perfectly Balanced Water
Mastering pool chemistry isn't about performing a complicated science experiment every weekend. It's about building simple, consistent habits that keep your water clear, safe, and inviting. By integrating a few key practices into your routine, you can spend less time adjusting chemicals and more time enjoying your pool. These habits make balancing easier and help protect your pool's surfaces and equipment in the long run.
Go Slow: Add Chemicals Gradually
It can be tempting to add all your chemicals at once to get the job done, but patience is key to getting it right. Think of it like baking a cake; you add ingredients in a specific order for a reason. Some pool chemicals can interact with or cancel each other out if added too closely together. As a general rule, wait at least four hours between adding different chemicals. This gives each product enough time to circulate and dissolve properly, ensuring it can do its job effectively without causing cloudy water or other issues. When you purchase your pool supplies and chemicals, always read the label for specific instructions.
Keep It Moving: Run Your Filter Daily
Your pool's circulation system is your number one ally in maintaining balanced water. Stagnant water is a breeding ground for problems, so you should run your filter for at least 8 to 12 hours every day. This constant movement helps distribute chemicals evenly and filters out debris and contaminants. Whenever you add balancing chemicals, make sure the pump is running. This prevents concentrated chemicals from settling on your pool's surfaces, which can cause staining or damage. If your pump isn't running as it should, it's impossible to keep your water balanced. Regular checks on your equipment are essential for a healthy pool, so don't hesitate to schedule a check-up if you suspect any equipment repairs are needed.
Stay Fresh: Manage Total Dissolved Solids (TDS)
Total Dissolved Solids, or TDS, is a measurement of all the dissolved substances in your pool water, including minerals, salts, and leftover chemical residue. Over time, as you add chemicals and water evaporates, the TDS level naturally increases. When TDS gets too high (typically over 2,500 ppm), your water becomes "tired" and chemicals become less effective, making it much harder to maintain balance. The best solution for high TDS is to drain a portion of your pool's water and replace it with fresh water. This simple refresh can make a world of difference. Managing TDS is a core part of our professional cleaning and maintenance services because it's fundamental to your pool's health.
Handle with Care: Store Chemicals Safely
Pool chemicals are powerful, and they require careful handling and storage to ensure your safety. Always store them in a cool, dry, and well-ventilated space, away from direct sunlight and out of reach of children and pets. Keep chemicals in their original, tightly sealed containers and never mix different products together, as this can create dangerous chemical reactions. A good practice is to store liquid chemicals below powders to prevent any accidental mixing from a spill. Following the storage instructions on each product is not just a suggestion; it's a critical step to prevent potential hazards like fumes or fires.
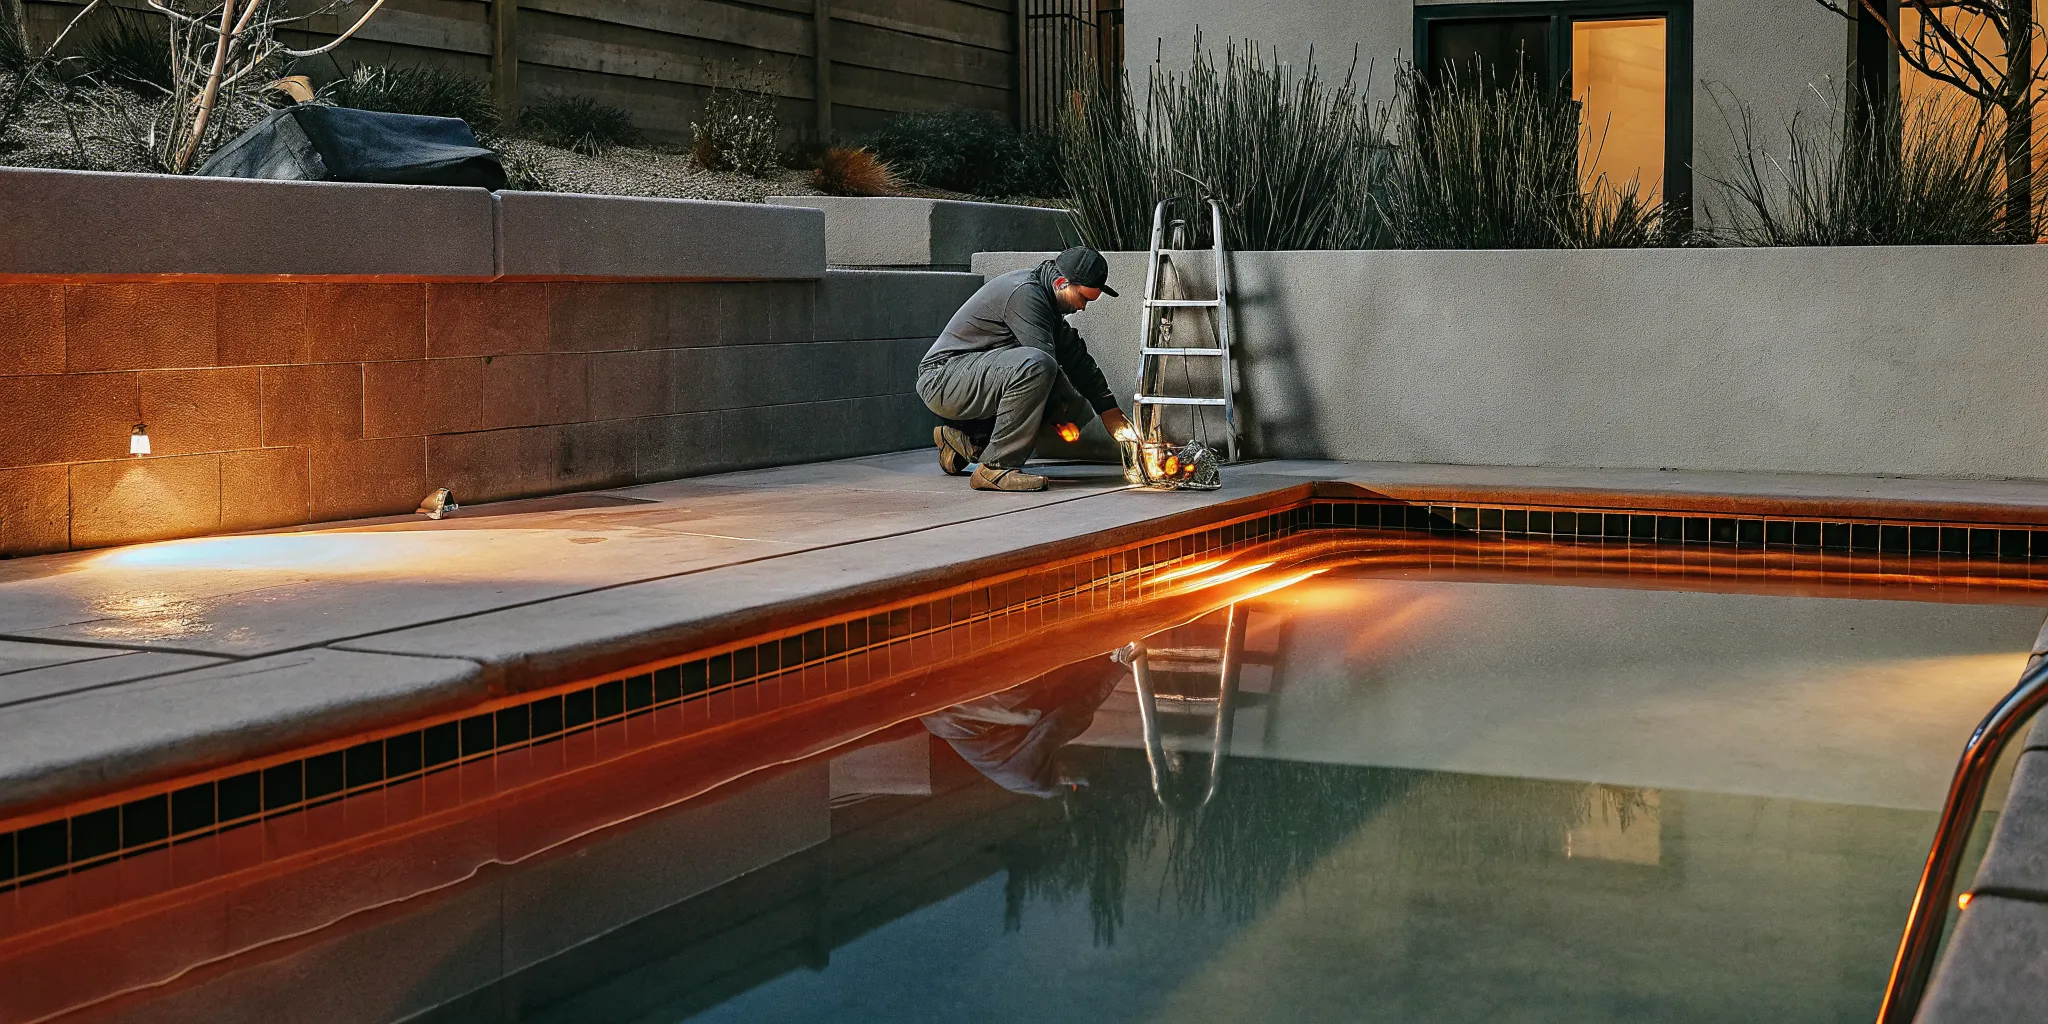
Feeling Overwhelmed? When to Call a Pool Pro
Let’s be honest, becoming a backyard chemist wasn’t exactly what you signed up for when you got a pool. While routine testing and adjustments can become second nature, there are times when balancing your pool water feels like a frustrating, endless battle. If you’re spending more time troubleshooting than swimming, it’s a clear sign that it’s time to call for backup. Getting professional help isn’t admitting defeat; it’s making a smart choice to protect your investment and reclaim your free time.
Think about calling a professional if you find yourself in one of these situations:
- You’re dealing with a persistent problem. If you’re constantly fighting off cloudy water or algae that just won’t quit, there might be an underlying issue that a simple chemical adjustment won't fix. A professional can help diagnose and fix underlying issues that are causing the imbalance.
- Your water chemistry has drastically changed. After a major rainstorm, a big pool party, or when opening your pool for the season, your water balance can get thrown completely out of whack. A pro can get your pool back to a safe and stable state much faster.
- You’re new to pool care and feel unsure. Guessing with pool chemicals is never a good idea. If you’re not confident about what you’re doing, it’s always best to ask for guidance. We can handle the complex water balancing for you with our weekly cleaning and maintenance services.
- You simply want to save time and effort. Your weekends are precious. If you’d rather spend them enjoying your pool instead of working on it, handing the chemistry over to a certified technician is a great way to get back your time.
Ready for a cleaner pool?
Denver's trusted pool care professionals since 1982. Get started today.
Schedule ServiceFrequently Asked Questions
Why do I have to add chemicals in a specific order? Think of it like building with blocks. You need a stable foundation before you can build the walls. In your pool, total alkalinity is the foundation that stabilizes your pH. If you adjust your pH first, it will just swing around wildly until you fix the alkalinity. Once your alkalinity and pH are set, your chlorine can work at full strength. Following the correct order prevents you from having to do the same job twice and ensures each chemical works effectively.
My test strip says I have enough chlorine, but my water is still cloudy. What's going on? This is a classic sign of a pH problem. When your pH level is too high, it essentially handcuffs your chlorine, making it lazy and ineffective. The chlorine might be in the water, but it can't properly sanitize or kill the contaminants that cause cloudiness. Before you add more chlorine, test your other levels. Getting your pH back into the ideal range between 7.2 and 7.6 will likely solve the problem and allow your existing chlorine to get back to work.
How does the Colorado sun really affect my pool chemistry? Our beautiful, high-altitude sun is tough on pool water. The intense UV rays can burn off your free chlorine in just a few hours, leaving your pool unprotected. This is why maintaining a proper level of cyanuric acid (CYA), which acts like sunscreen for your chlorine, is so important here. Additionally, our dry climate causes rapid evaporation. As water evaporates, it leaves behind minerals and other dissolved solids, which can concentrate over time and make your water harder to balance.
I feel like I'm constantly adding chemicals. Is this normal? While regular additions are part of pool care, feeling like you're on a constant chemical roller coaster usually points to an underlying issue. The most common culprits are low total alkalinity (which causes "pH bounce") or low cyanuric acid (which lets the sun destroy your chlorine). If you've checked those levels and they seem fine, you might have high Total Dissolved Solids (TDS). This means your water is so saturated with old chemical residue that new chemicals don't work well, and a partial drain and refill is often the best solution.
How long should I wait to swim after adding chemicals? Safety is always the priority. After adding standard balancing chemicals like pH or alkalinity adjusters, you should let the pump run for at least four hours to allow everything to circulate fully. If you are shocking the pool with a high dose of chlorine, it's best to wait until the free chlorine level has returned to the safe swimming range of 1 to 3 ppm, which often means waiting overnight. Always read the product label for the most accurate and specific safety instructions.
Related Blogs